Squat Racks for Home Gym Strength Training
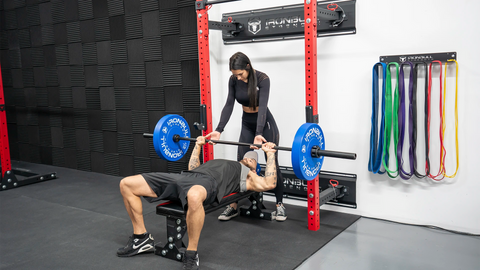
A squat rack is the foundation of any serious home gym. Whether you're training to build muscle, push new PRs, or stay consistent from home, the right rack gives you the freedom and support to lift with confidence.
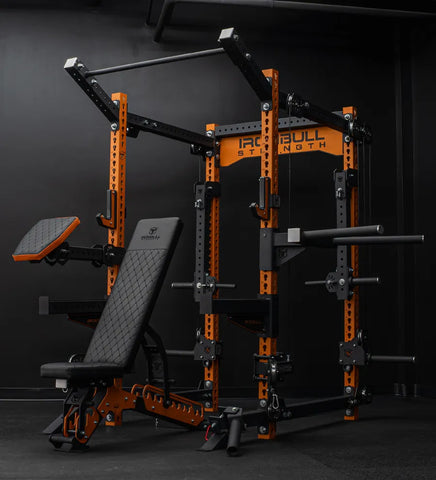
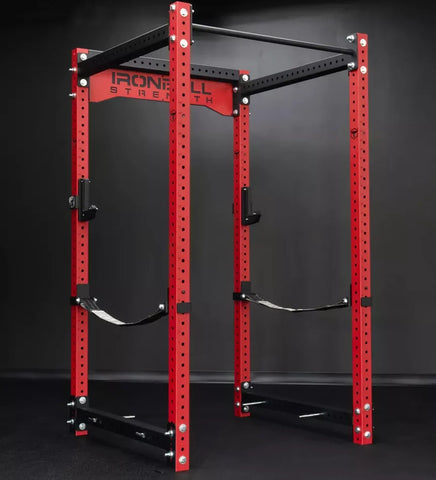
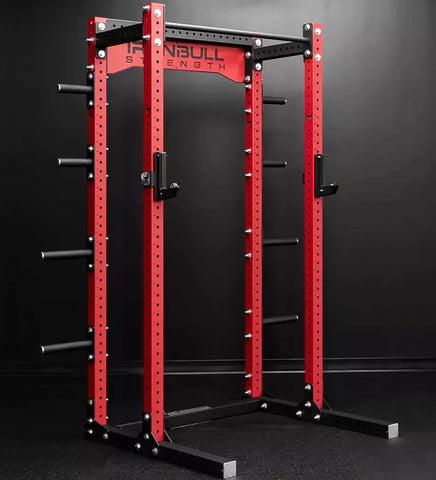
In this collection, you’ll find everything from compact folding squat racks for small home gyms to sturdy half squat racks and full setups with a squat rack and pull-up bar for more versatility.
Some racks are designed to fold away when you're done, helping you save space without compromising on performance. Others offer a fixed, ready-to-go setup that's perfect for your most consistent lifts—whether it's squats, overhead presses, or benching. If you're tight on space, a foldable squat rack is a smart way to build strength without crowding your room.
From sleek, wall-mounted squat racks for home gyms to squat racks for bench work, there's a setup here to support your training and keep you moving forward. Whether you're just starting out or looking to upgrade your gym, we’ve got you covered with the best home gym squat racks to help you lift strong and train smart.