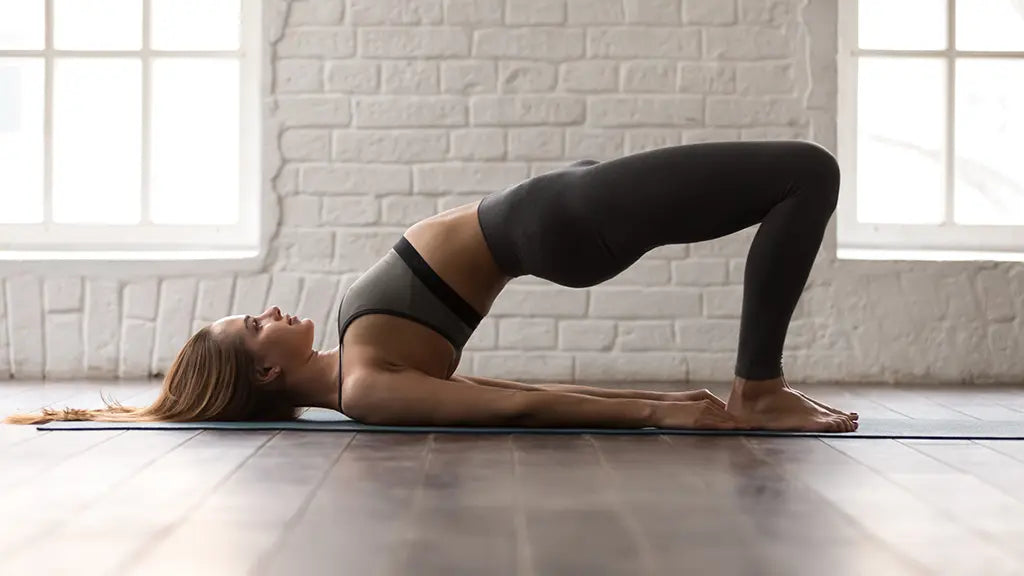
Unlock your glute potential:

SOME BENEFITS OF HIP THRUSTS ARE:

  • Increasing the size of the glutes
  • Improving the strength of the glutes
  • Helps to improve performance in the weight room
  • Helps to improve performance in athletics

Hip Thrusts can reduce the overall risk of injury because strong glutes can help reduce the stress on the lower back and positively affect the mechanics of the knees, hips, feet, and ankles.

Even with the known benefits of performing Hip Thrusts, most women still shy away from them at the gym. Some reasons for this include:

  • Improper form during Hip Thrusts
  • Awkward feeling while performing Hip Thrusts
  • Difficulty getting into the right position
  • Lower hip or back pain during Hip Thrusts

Although noting much can be done about your feeling shy or awkward about performing Hip Thrusts in a gym full of people, we can help you do it the right way and in the right position. Also, we hope to help you reduce any additional stress you feel on your lower hips or backs during the movement.

HOW TO PERFORM BODYWEIGHT HIP THRUST 

(BACK-ELEVATED GLUTE BRIDGE)

The movement of the bodyweight hip thrust is just the same as the Glute Bridge. The only difference is that your back is elevated, increasing your range of motion and preparing you for a weighted hip thrust. To perform the bodyweight hip thrust, begin by keeping your shoulder blades on a bench, with your arms around it, to keep you stable. You may have to begin with your butt a little bit off the floor if your shoulders are not able to get to the bench. Then ensure that your feet are flat on the floor by bending your knees to about 90 degrees. Breathe in and exhale all your air out, and brace your core. Squeeze your glutes, raise your hips up, and hang on for one or two seconds. This same exercise can be done with a single leg. All you have to do is lift one foot off the floor and perform the same Hip Thrust motion. If you’re having difficulty with good form while making the motion, you can try this: Perform a normal Hip Thrust with your feet narrow, and once you reach the top, take one foot off the floor and perform your Single Leg Hip Thrust.

BARBELL HIP THRUST

You may be prepared to progress to the Barbell Hip Thrust after learning to perform the basic movement. Just like the exercise above, your whole body must work as one when performing this exercise to make sure that your body is stable and your spine stays neutral. It’s advisable to use a lower weight to do this properly rather than risk injury with a higher weight. Erect the barbell parallel to the bench. Then with your shoulders against each other, position yourself on the floor. Like the exercise above, you can raise your butt slightly off the floor if your shoulders don’t reach the bench while sitting.

  • Roll the barbell directly over your hips.
  • Make sure your spine is neutral and your body aligned.
  • Take deep breath, exhale through mouth, brace core.
  • Drive through heels, squeeze glutes to lift hips.
  • Lower down smoothly, keeping core braced.
  • Place your elbows on the bench with your hands on the bar to keep it steady. 

Tip: You can certainly put some padding between the bar and your hips if you find Barbell Hip Thrusts painful. The Advanced Squat Pad is the perfect hip pad if you want to concentrate on your form without feeling any paint at all.

That’s just about it on the best exercises for your glutes. You now know how to hit your glutes with any variation, regardless of the type of hip thrust. These exercises are adaptable, and you can perform them anywhere – it doesn’t matter if you’re in a well-equipped gym or someplace without equipment at all.